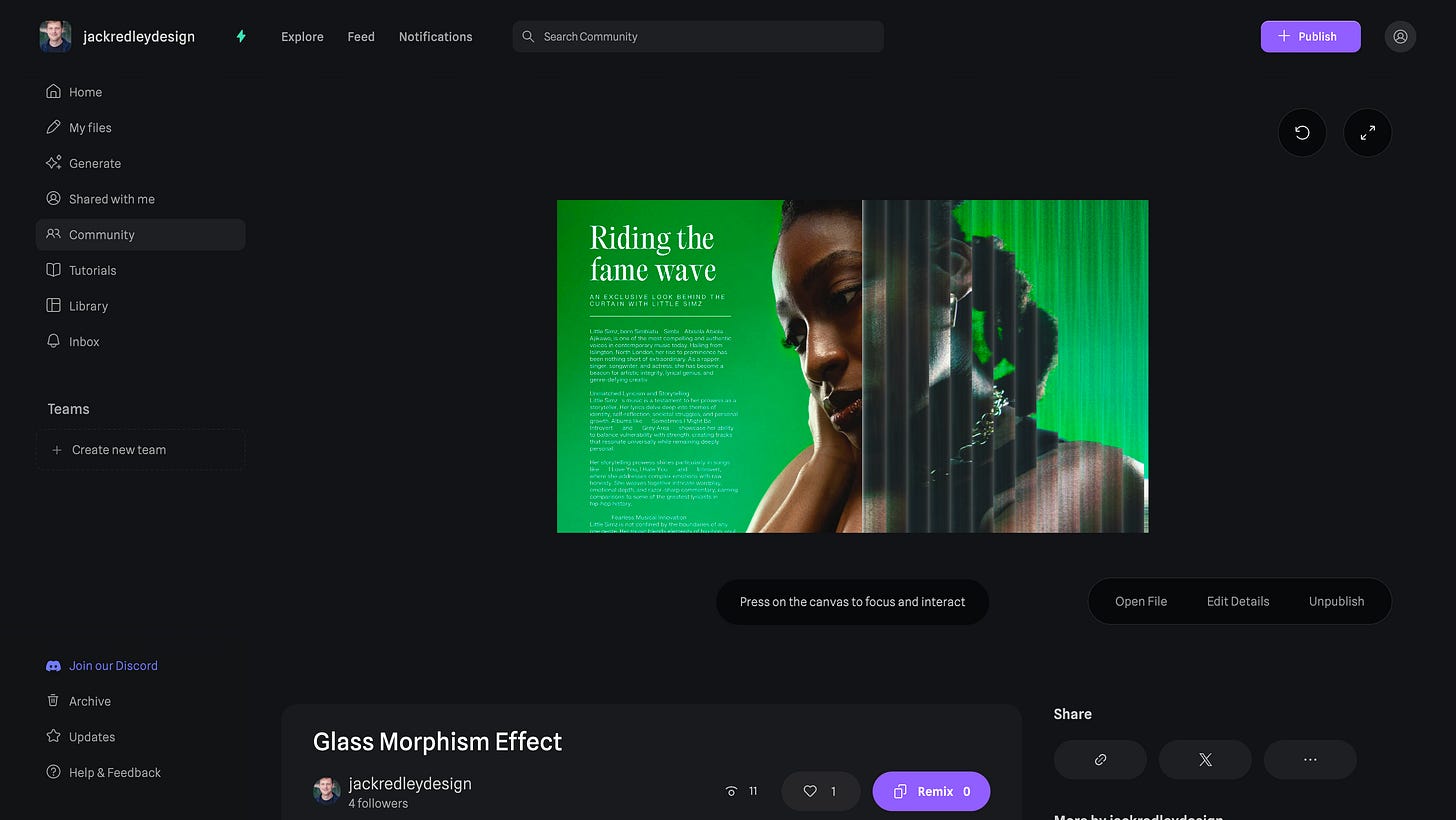
3D Reflective Glass: Spline Tutorial For Beginners
Want to make that sexy 3D glass effect? Let's cook boi
Dearest 3D fan,
Today’s newsletter is juicier than a Lizzo song.
Here’s what we’ll cover:
Making 3D glass effects in Spline
3 maddest 3D websites spotted this week
A look at what’s to come in 2025 content…
Let the turkey see the cranberry sauce.
3D Glass Tutorial
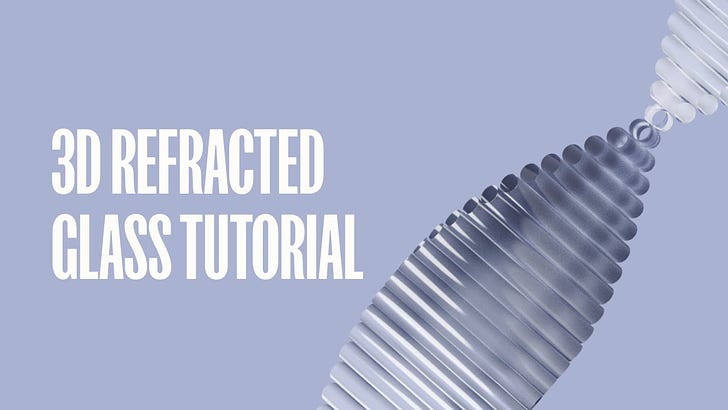
First off, wtf is this glass effect?
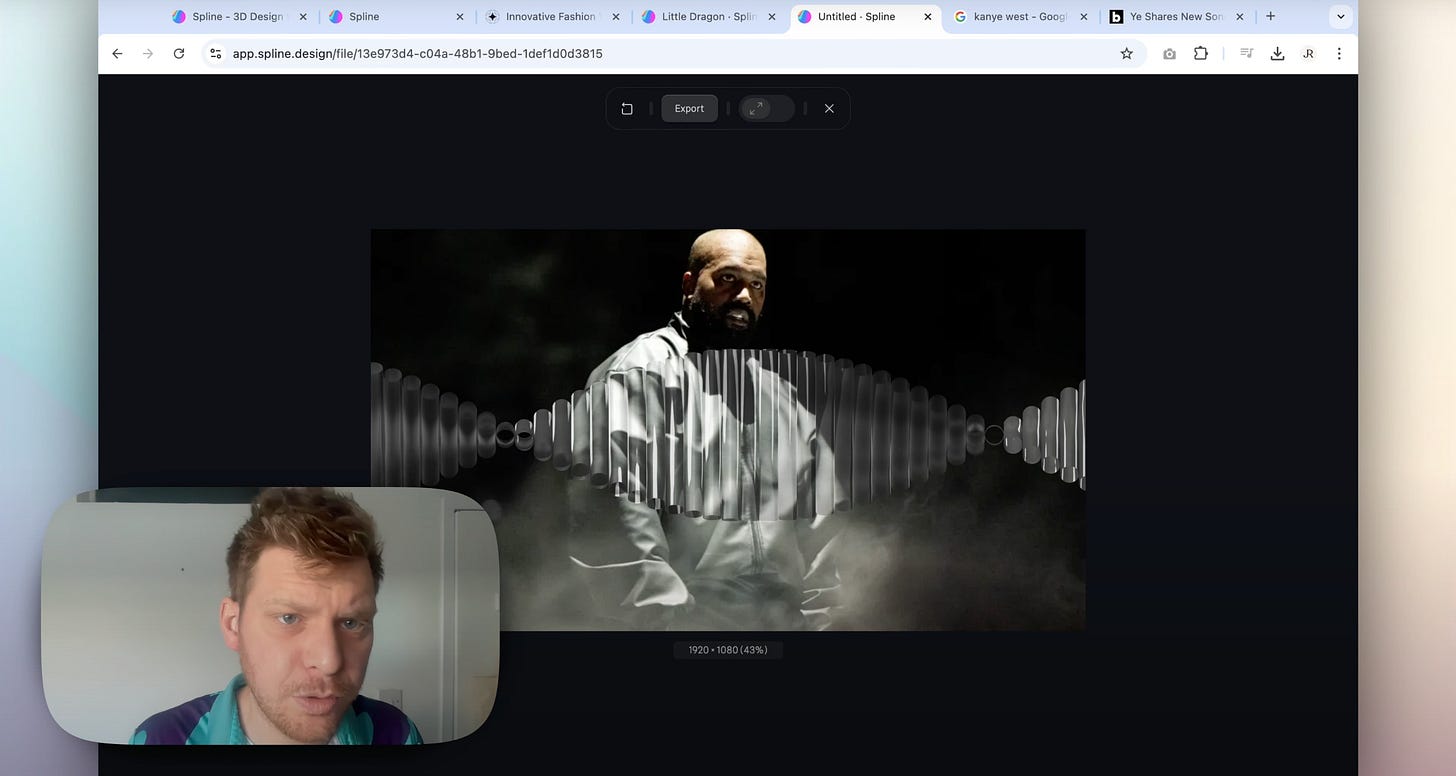
Well it's basically a 3D cyclinder object cloned multiple times that refracts whatever is underneath. Inspo for this came from ludicruously talented bean that is @JordanGilroy with this site Neocultural Couture
Free assets here for this tutorial by the way:
https://app.spline.design/community/file/0eb8728c-8ee7-4f2c-b472-30669e275bba
Step-by-Step Guide to Create a Glass Morphing Effect
1. Setting Up Your Spline Project
Start with a blank canvas in Spline. Set your background color to a subtle tone so the glass elements pop. Leave the directional light as is for now, as it will play a key role in creating realistic lighting effects later.
2. Creating the Base Geometry
The foundation of the effect lies in geometry. Use cylinders as your base shapes:
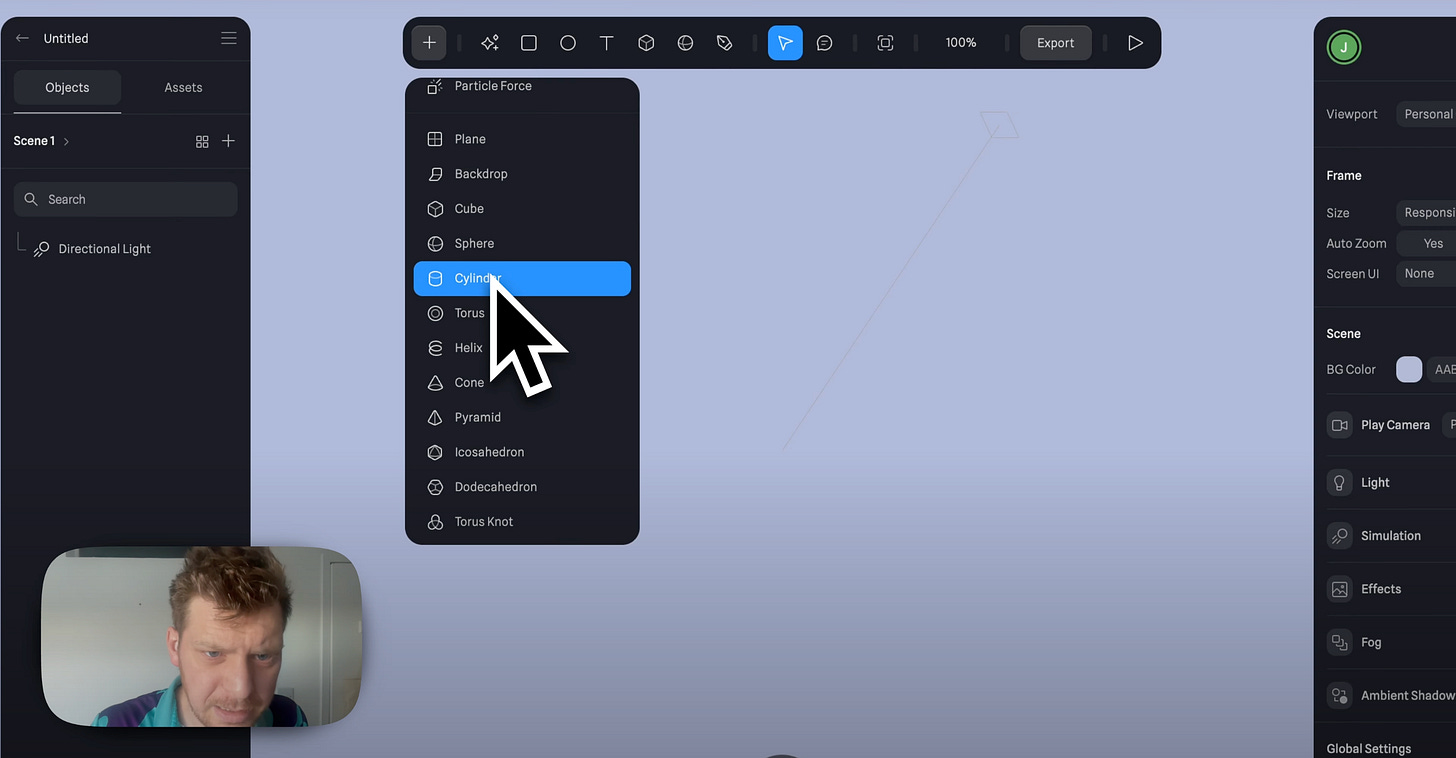
Add a cylinder to the scene.
Adjust its dimensions and hollow it out to form a tube-like structure.
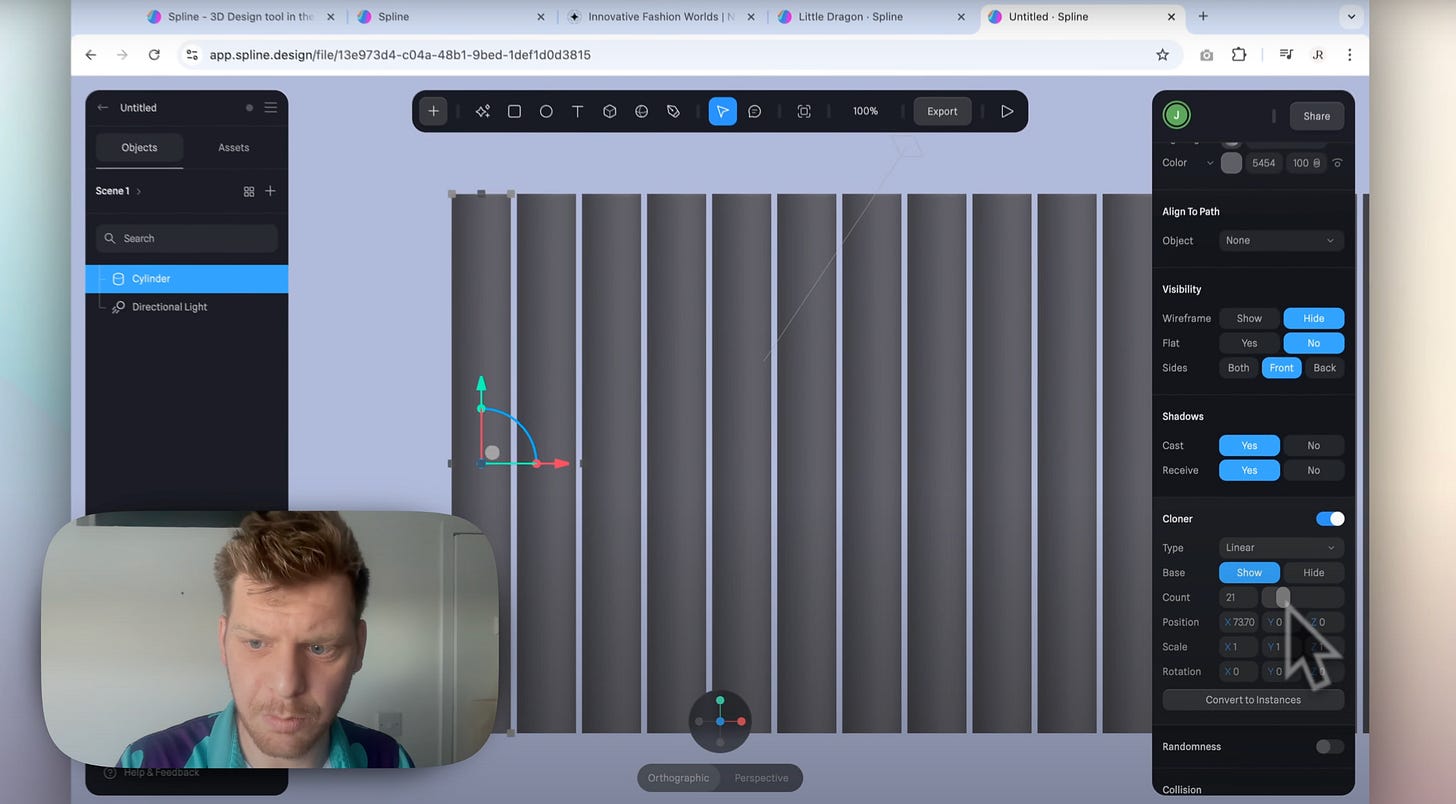
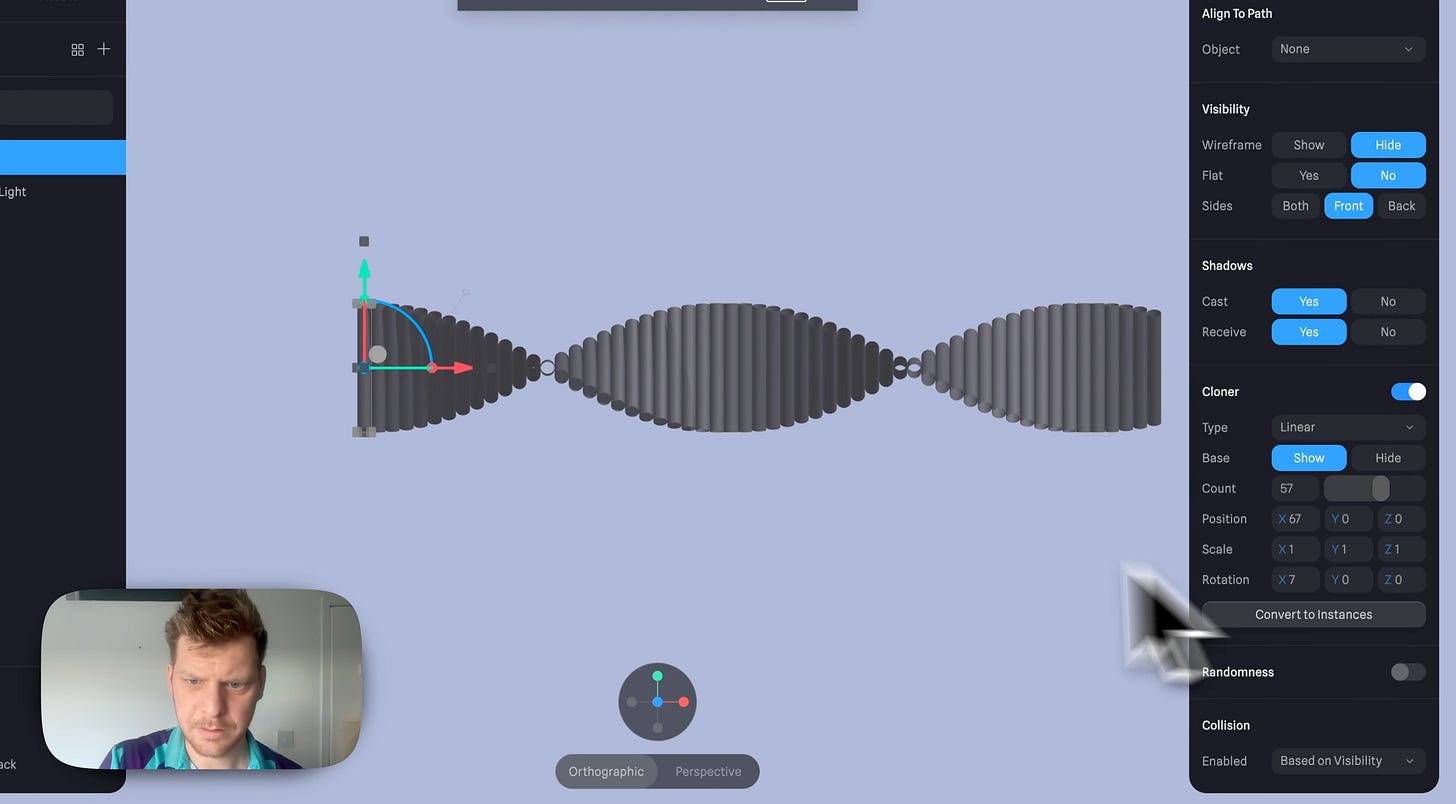
Clone the cylinder multiple times in a linear fashion to create a grid or pattern.
3. Adding Interactivity
Once you’ve set up your geometry, experiment with rotation and transitions to make the effect dynamic.
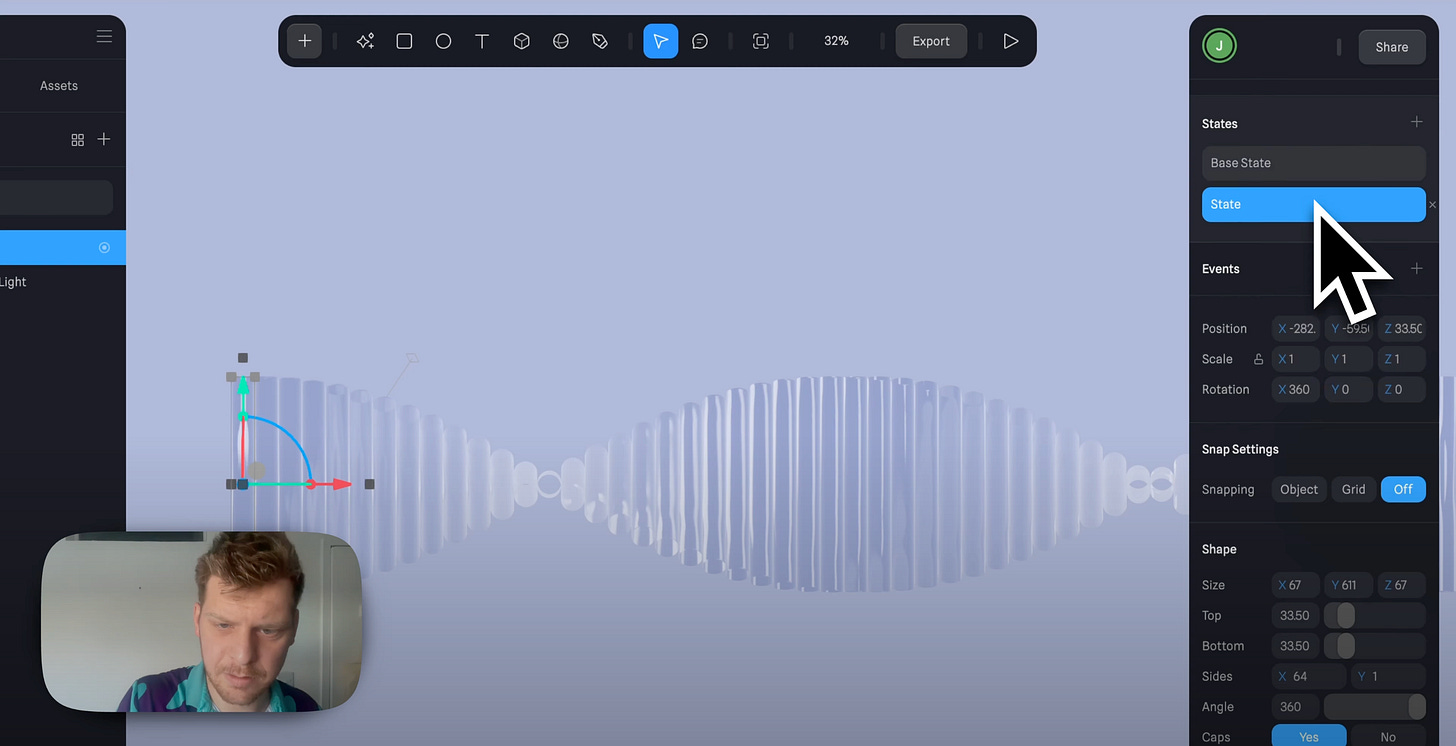
Use Spline’s state animations to give the cylinders movement—for instance, a smooth 360-degree rotation loop.
4. Applying Materials and Textures
Here comes the magic! Navigate to the material settings of your geometry:
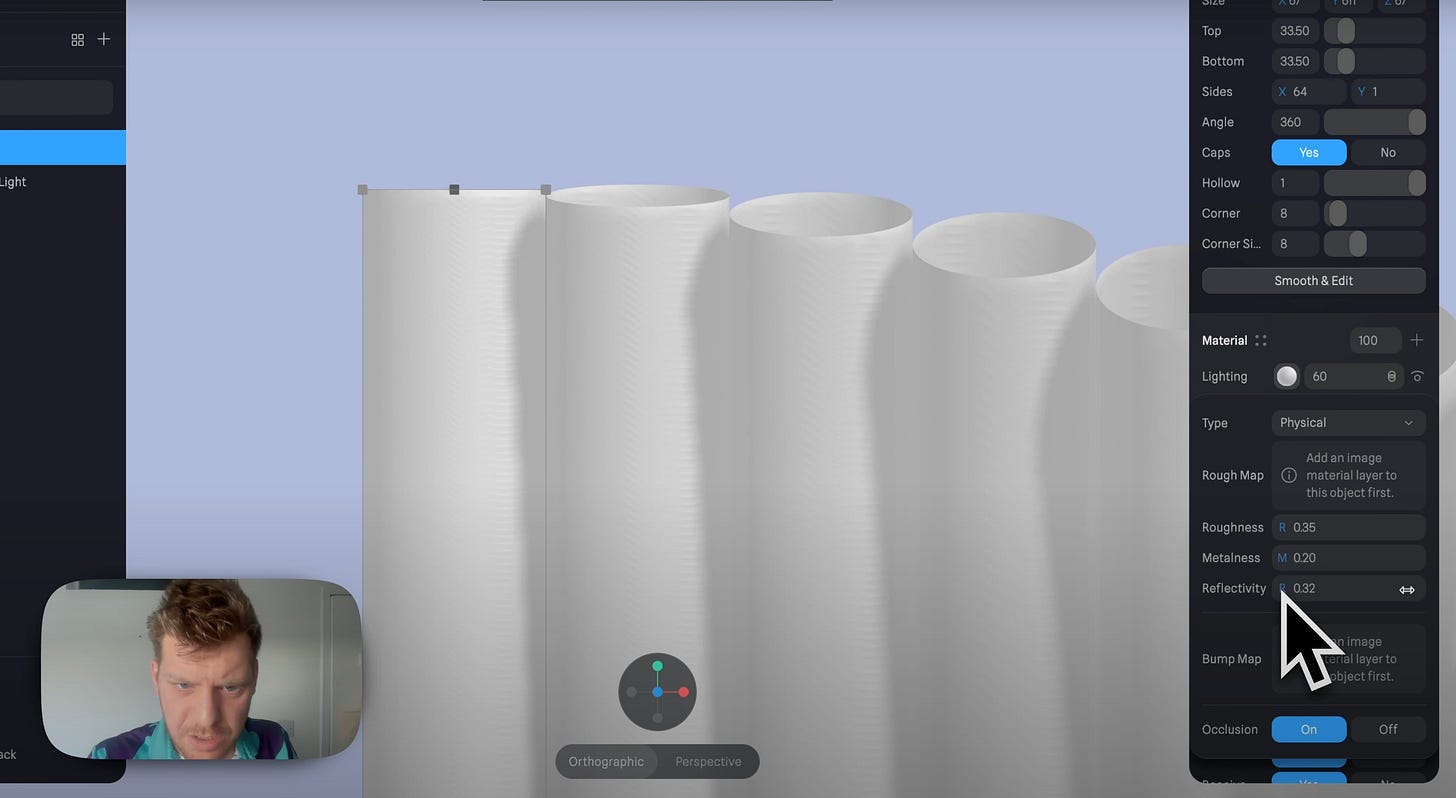
Set the color to white and change the lighting mode to physical to allow roughness
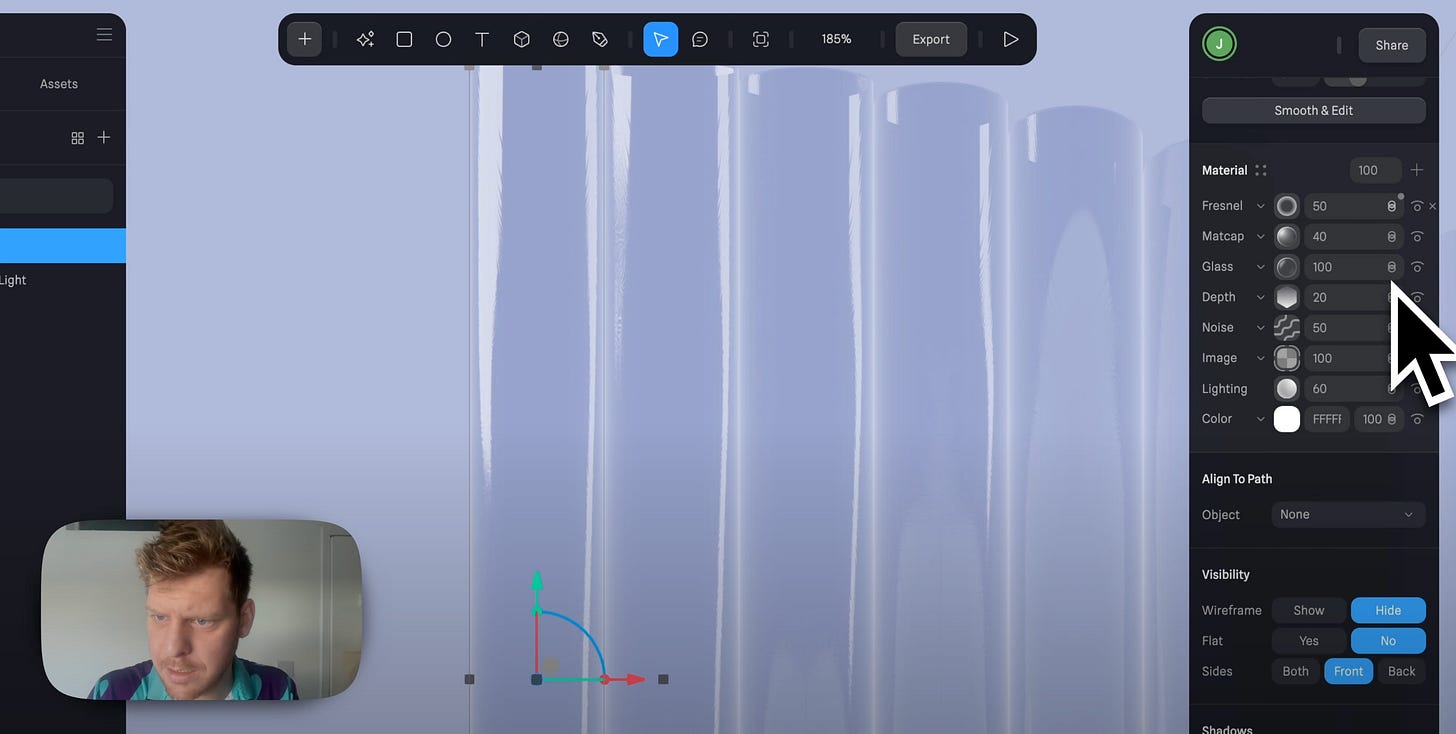
Adjust roughness and metalness to achieve a glass-like appearance.
Add texture overlays or bump maps to simulate imperfections, giving the glass a realistic finish.
Pro Tip: Explore free texture resources like Unsplash for high-quality assets to incorporate into your designs.
5. Animation
Tweak these settings to get right effect
Add noise or Fresnel effects to introduce subtle variations in color and transparency. This step is crucial for giving your design the final polish it needs.
Then animate:
Base state - 0 State - 360 on x axis
Start -> Transition -> 10 seconds for a perfectly cooked animation
Loop -> infinite -> ping pong reverse
Put background image on this Frame it if you want eg. 1920 x 1080 Sauce.
Simple as.
3 Mad 3D Sites Spotted This Week
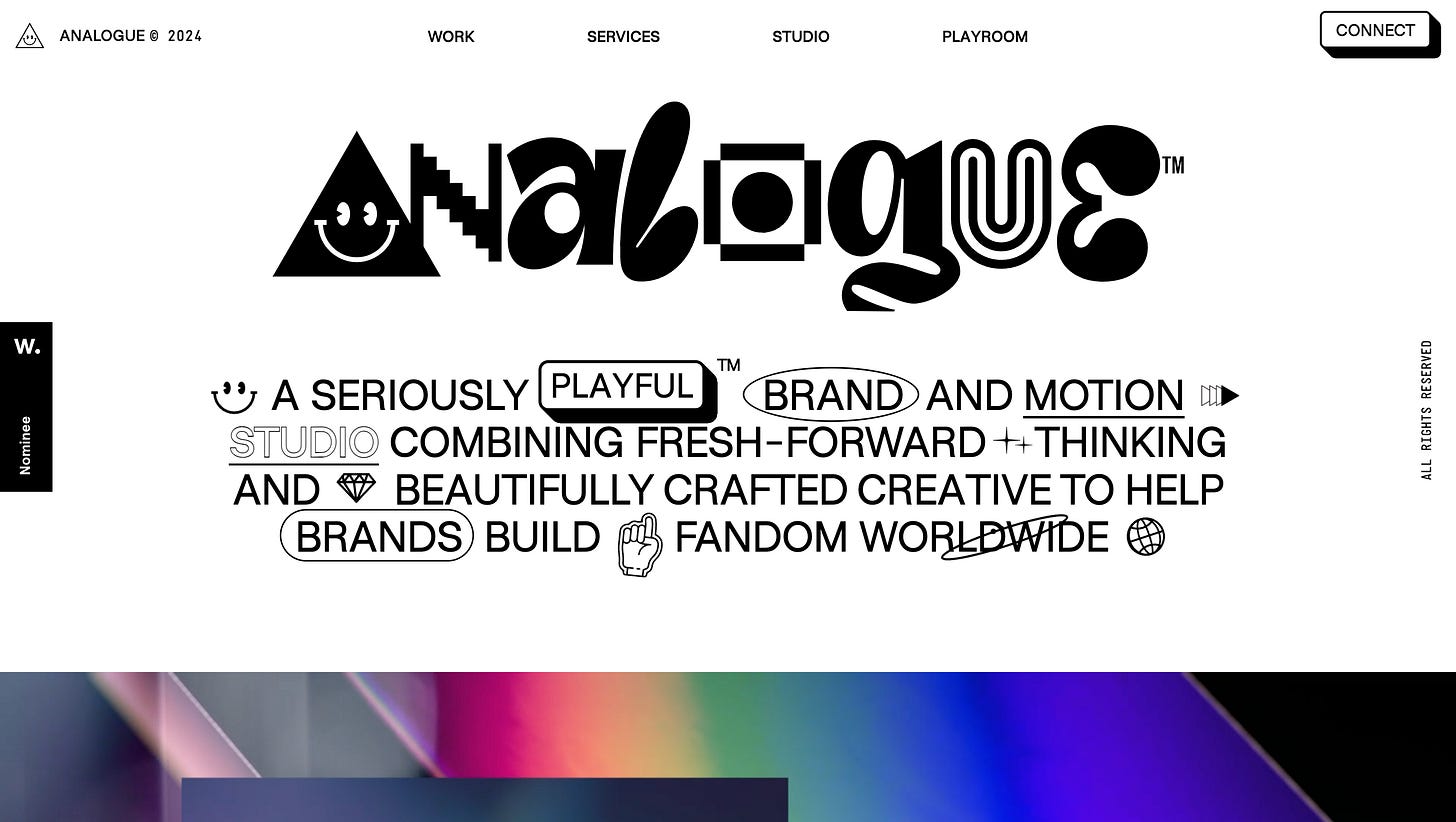
1) Analogue
https://madebyanalogue.co.uk/
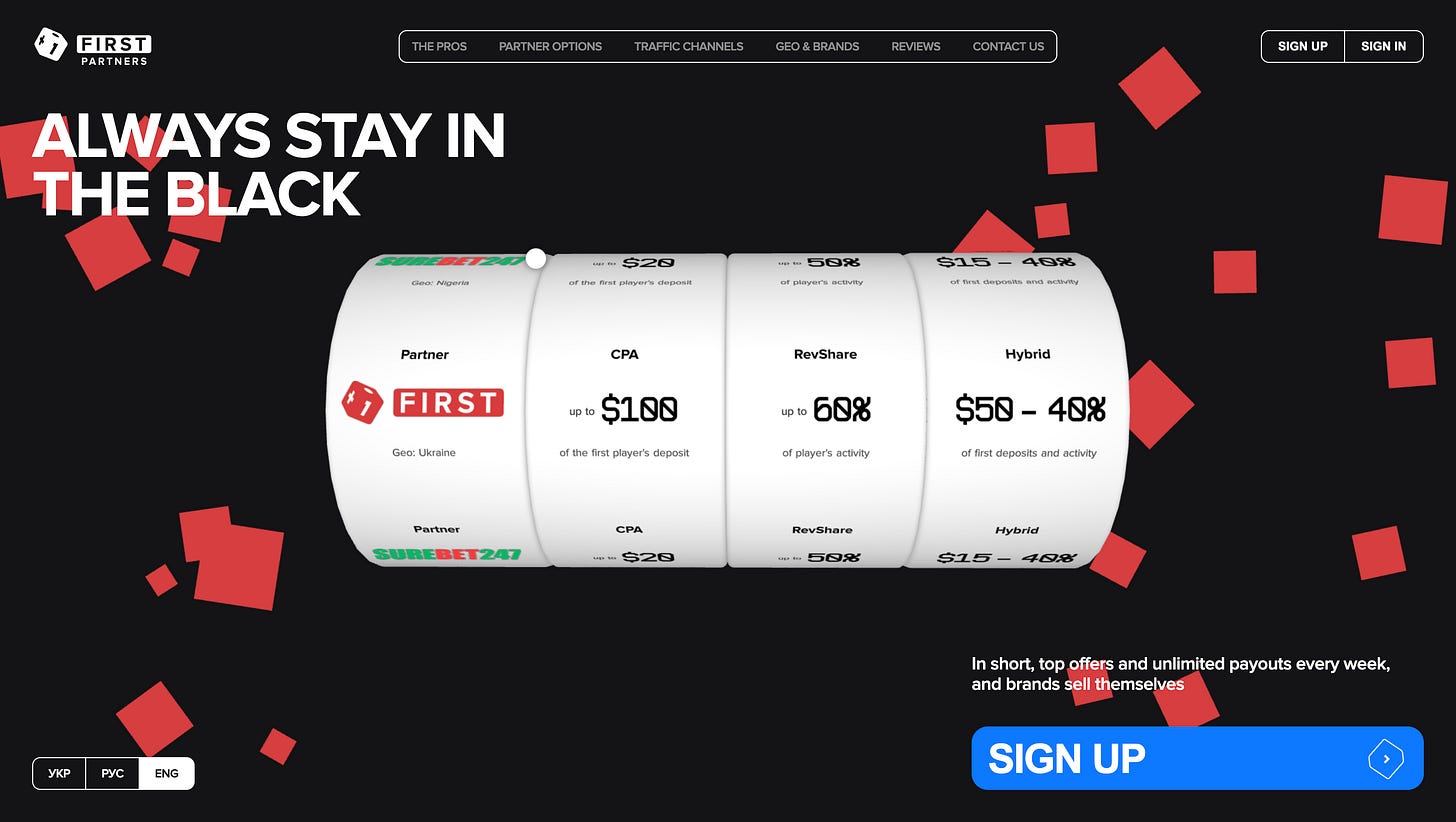
2) First Partners
https://1casino.partners/en
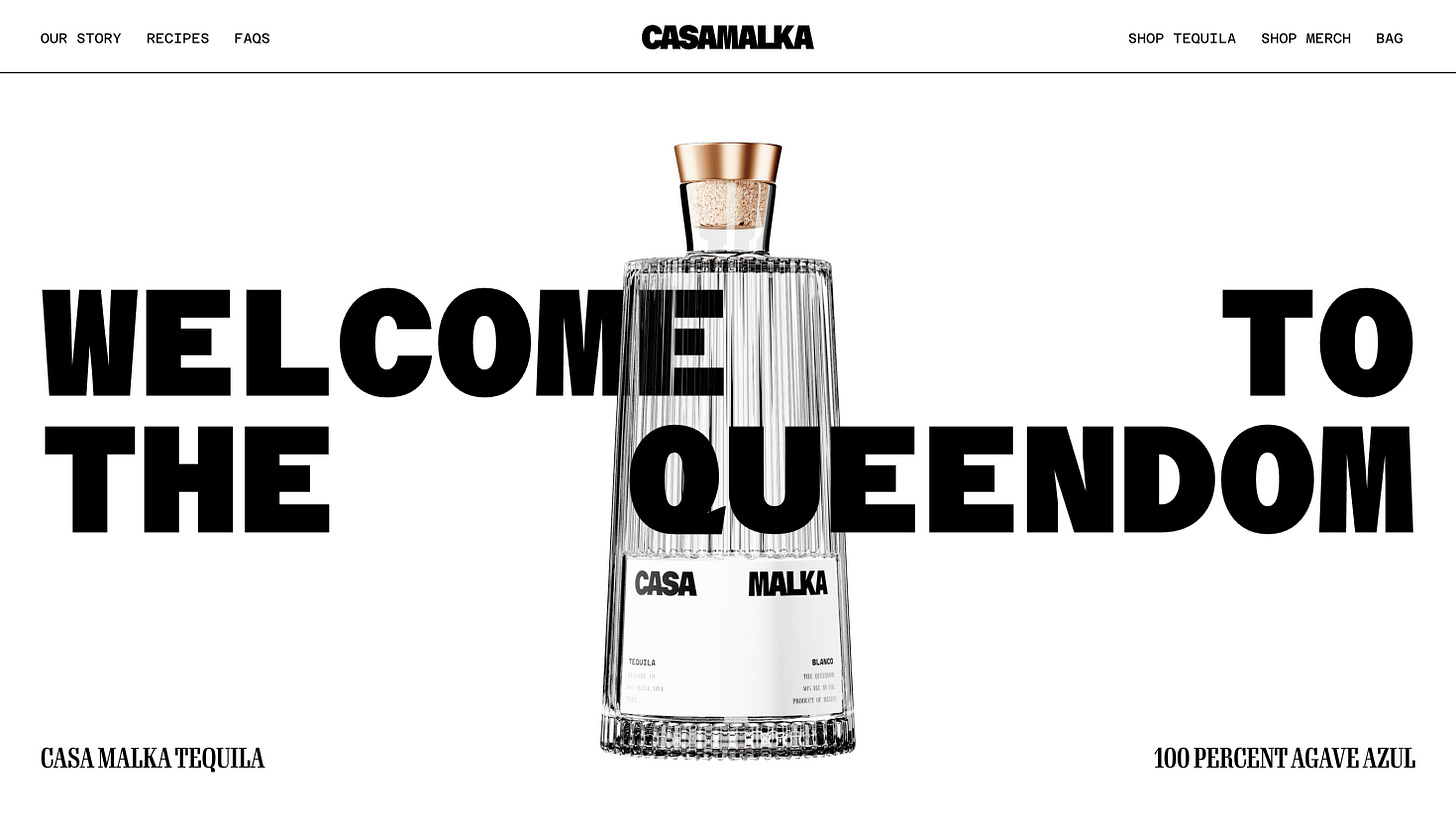
3) Casa Malka
https://casamalka.com/
What’s to come from 2025?
Under The Hood Series
Interviews - So I did this Webflail thing which is going to stop soon. HOWEVER, I will not stop interviewing fascinating people.
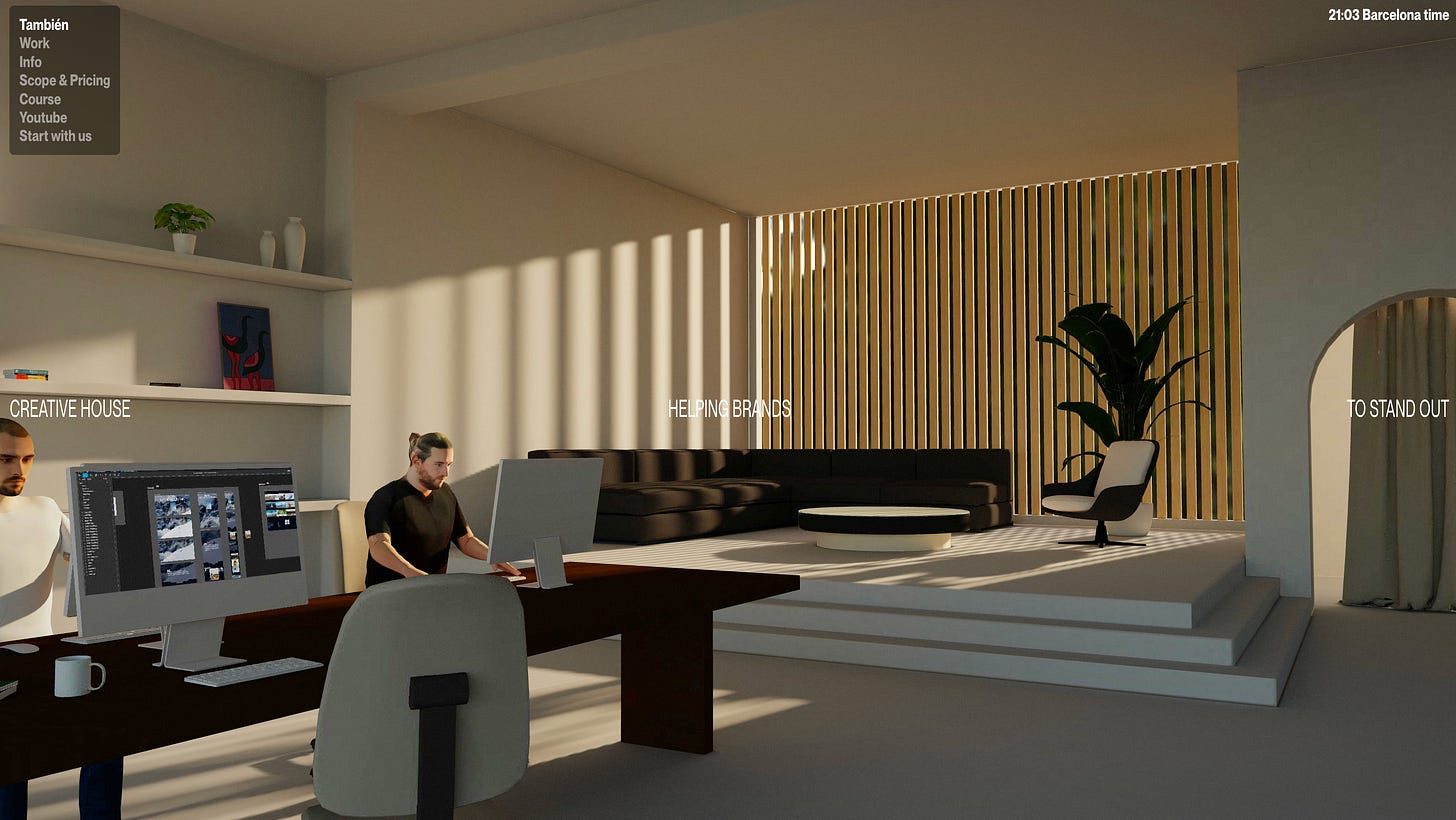
I want to go under the hood of different 3D websites and understand the background to some of the best 3D projects around. First guest? Tambien Studios.
Assets
More assets to duplicate and explore! So many more to come.
Videos → Assets → Articles → Social posts baby.
Beautiful.
And you’re at the start of the journey.
Let’s go!
Jack

